

I’ve been blogging since 2015 and one thing I’m happy I did not do is wait till I had it all together to start.
Before I got my Sony mirror less camera and had access to a DSLR, I used my phone to take pics for my website but mostly for social media posting. My phone cam was not the best but it certainly helped.
If you’re thinking of investing in a good quality camera for your blog and can afford it, go for it. However, if your phone is what you have to work with, don’t feel pressured to dig deep in your pockets to get a camera. You can apply the tips I share below to get the best out of your phone camera (which I am sure is a better quality than my previous phone cam).
1. Clean the Camera Lens
I listed this point first because I’ve seen good quality phone cameras produce low quality pics all because the lens have not been cleaned in ages. It’s like someone walking around with their glasses on, never cleaning it and wondering why they can’t see; the world becomes foggy and pale.
With my previous phone, the camera was not the best, but it was not the worst either. The first time I cleaned my lens, (can’t remember where I learned this) I was shocked! My pics became so much clearer. I always thought that my phone camera had issues. My pics were so blurry and I couldn’t figure out why until I found out that the issue may be that the lens needed to be cleaned. This made a world of difference. The camera lens is exposed so lint, finger prints and other elements will obviously get on it resulting in poor quality pics. Ensure to give your lens a quick wipe before you snap.
2. Take Pictures In Natural Light
If your phone camera is not built to perform in low light and at night, then don’t take pics that you want to post on your business’ social feed in those settings.
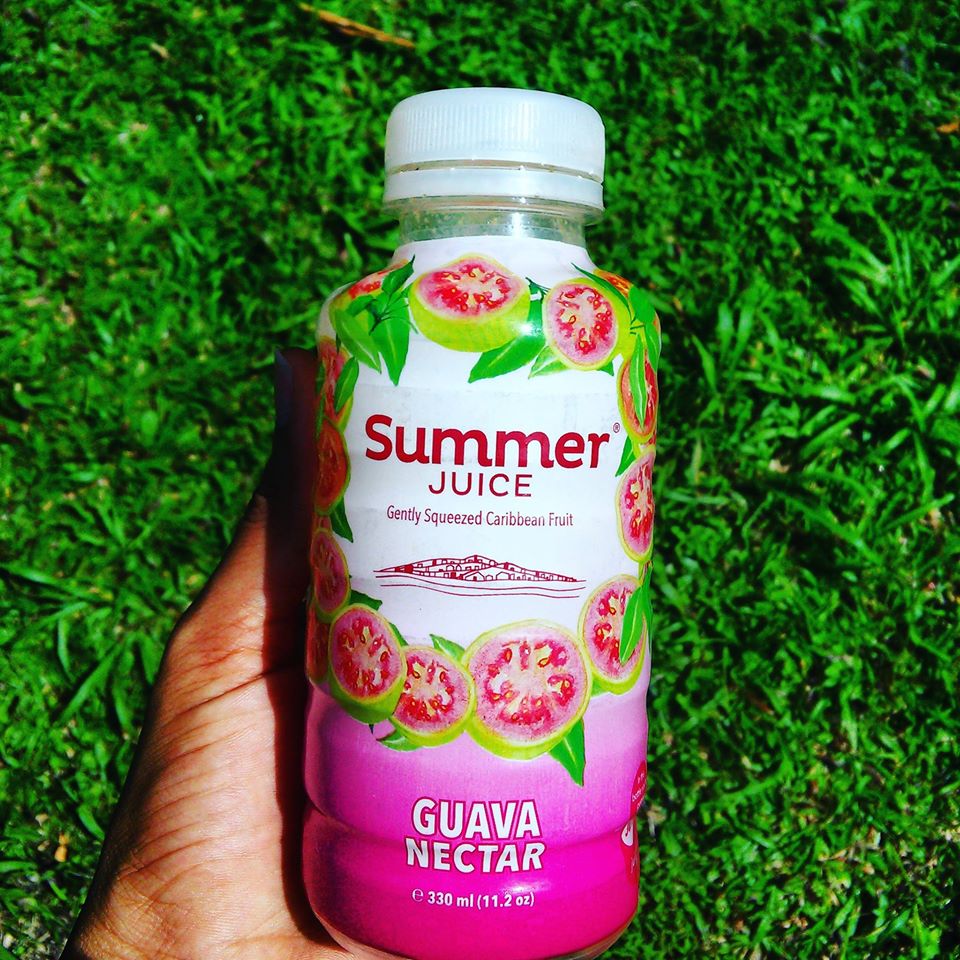
Try your best to use natural light when taking photos of your products. Go outside or take the pic in front of a window/door where light comes in.
3. Ensure The Subject Is In Focus
Most phone cameras come with an auto focus feature so the user won’t have to do much to find the subject. However, sometimes, even with that feature, the subject is out of focus. Remember, the aim is to get a clean, blur less picture as much as possible. Look at your screen before you get that shot. If the subject is out of focus, tap your screen in the area of your subject and wait for the screen to clear. Now take your shot!
4. Avoid Zoom
One thing I’ve learned is that zoom sometimes diminishes the photo quality. The pic make look good on your phone or mobile device but on the PC, the pic may look grainy. That’s not the case with all phones, so do the test and see how it works for you. If you find that zoom on your phone is not the best, move closer to your subject to get a better shot and crop as needed.
5. Use Grid Lines
Grid lines help me to position my subjects and to use the rule of thirds – a well-known rule of photography. Learn more here.
6. Flash At Night May Not Be A Good Idea
I have noticed that the flash does not work well for every setting, especially at night, so I seldom use it. Again, do a test and see how your flash works at night. If it does not work well, revert to taking your pics in natural light, during the day. Your customers will appreciate it.
Related: How To Grow Using Social Media
7. Use the HDR Feature
I’ve been using this setting for a long time and never new what it meant until doing this post.
High Dynamic Range (HDR) captures detail in your photos in bright and dark areas. It works differently in iPhones and Androids, but in most cases it is a feature in camera settings you can turn off and on easily.
My experience with this feature is that it may not always give good results. It all depends on the lighting and what you’re looking for. Again, it is always best to test with a couple shots and fiddle with HDR and see how it works with the flash.

8. Keep Your Hands Steady
Once you’ve cleaned your lens, and decided if you want to use HDR or not, ensure your hands remain steady for that shot. If you’re like me and don’t always have steady hands, ask someone to assist. No harm in that.
9. Phone Accessories
The only phone accessory I use at the moment is a tripod. I use it for taking pics and doing video. There are other accessories to improve your picture quality such as lens and light. You can find these on Amazon or check your local tech stores.
10. Use Google and Pinterest for Composition Ideas.
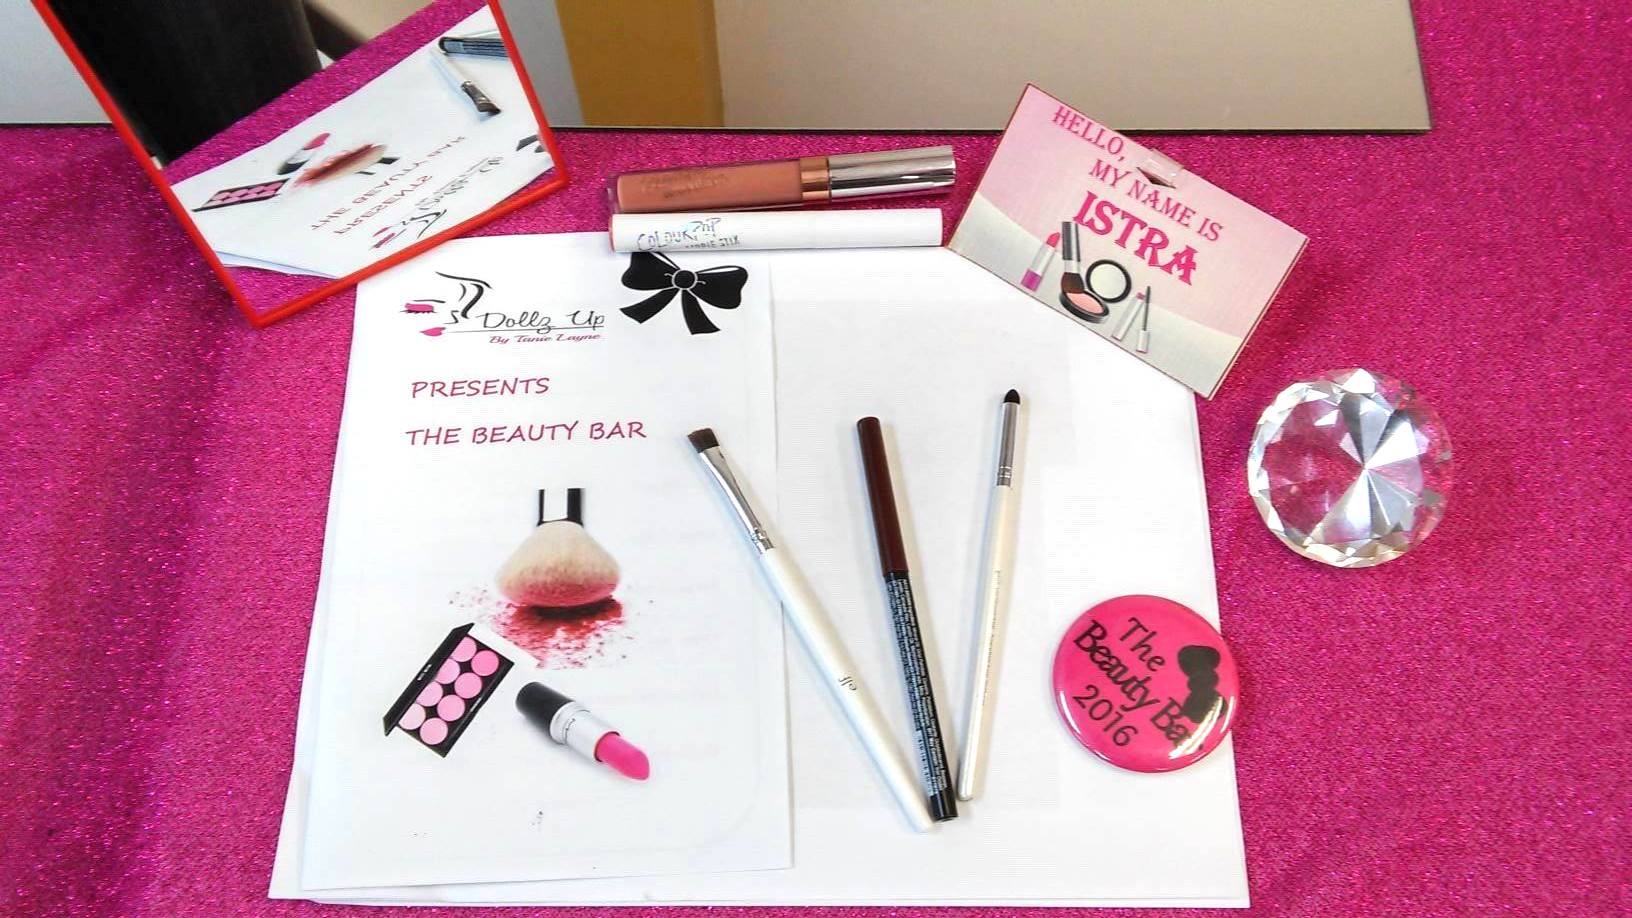
I added this point since this has helped me to improve the picture content that I put out. You may have a good camera, take clean pics, but not sure how to arrange your products or items to get a visually appealing photo of your product. I usually peruse Pinterest or just search for ideas on Google. You’d be surprised at what you’d find and how this method will get your creative mind going.
I hope you find this helpful. If there are any inexpensive tips you use to better your picture quality, feel free to share.
Cover Photo: Haron Forteau